Home / Resource Center / Prep Work
Prep Work · 5 min readAsk any veteran painter what separates a five-year paint job from a fifteen-year one and you'll get the same answer: what happened before the lid came off. Here's the prep sequence we run on every project — and that you should run on yours.
Paint won't bond to dust, chalk, salt film or mildew. Exteriors get a full pressure wash (with a mildew treatment on shaded walls) and at least 24–48 hours to dry. Interiors get a wipe-down — kitchens and bathrooms especially, where grease and residue quietly ruin adhesion.
Fill nail holes, skim dents, and patch stucco cracks with the right filler — spackle inside, elastomeric or masonry patch outside. Sand patches flush once dry. A patch you can feel with your palm will be visible from across the room once paint hits it.
Caulk where trim meets wall, where siding meets windows, and anywhere two materials touch. In Florida this isn't cosmetic: every unsealed gap is a moisture entry point that will bubble your paint from behind. Use a paintable siliconized acrylic and tool it smooth.
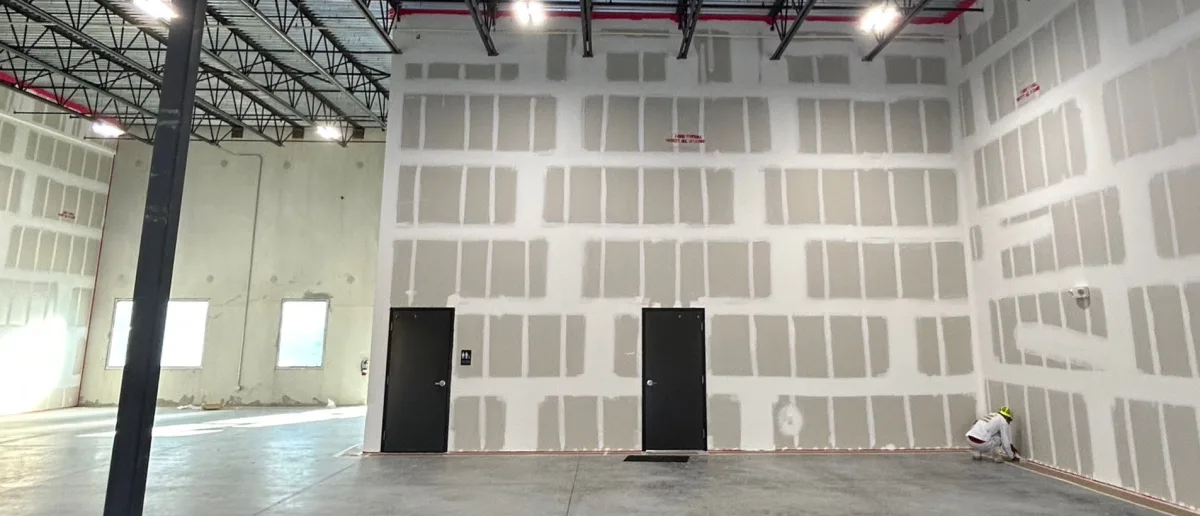
You rarely need to prime everything, but you always need to prime something: bare drywall and patches, stains (with a stain-blocking primer), bare or chalky stucco, glossy surfaces after scuff-sanding, and any dramatic color change. Skipping spot-prime is the #1 reason patches "flash" through the finish coat.
Good masking is speed, not fuss: crisp tape lines at ceilings and trim, floors covered wall to wall, outlets and hinges taped or removed. The ten minutes spent taping a bathroom saves an hour of scraping specks off tile.
Yes - at minimum a dust wipe-down, and a degreasing wash in kitchens and baths. Paint over residue is the most common cause of peeling on interior walls.
Not everywhere, but always on patches, stains, bare surfaces and glossy finishes. Unprimed patches show through the topcoat as dull spots called flashing.
On a professional repaint, 40-60% of labor hours typically go to washing, repairs, caulking, priming and masking before any finish paint is applied.
A paintable siliconized acrylic caulk. Pure silicone repels paint, and cheap acrylic shrinks and cracks within a year or two in Florida heat.
Planning the work? These guides from our Pricing Center cover the costs:
Free estimates. Fast responses. A finish you'll be proud of.
Get a Free Estimate Today